Survival Guide to CS 292F: Real-Time High Quality Rendering
In Spring 2024, I took Professor Lingqi Yan’s offering of CS 292F: Real-Time High Quality Rendering at UCSB. I came into this class with little to no previous experience in computer graphics. Here’s my “developer diary” that may help you succeed in the class if you are in the same situation.
As a brief aside, I consciously chose not to use NanoGUI or similar tools to try and code the projects from “scratch”. This definitely slowed me down, especially by the time I got to the last project, since it would have been useful to see the effect of changing a constant without re-running the process. However, at least at the beginning, I gained a deeper understanding of how the development environment really worked.
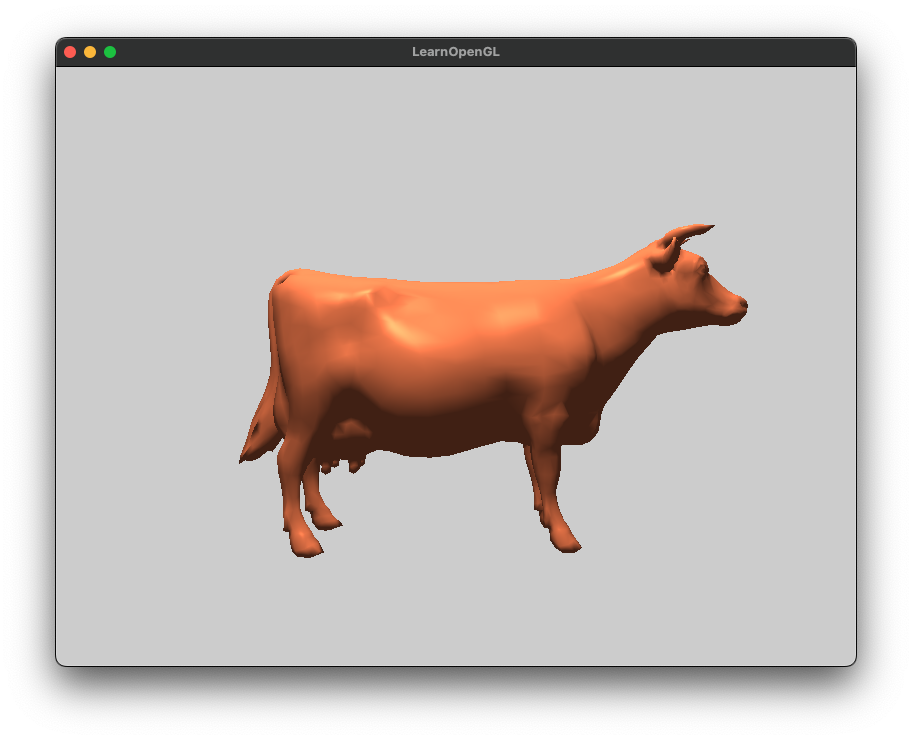
Project 0: A Real-Time Object Viewer
The main task for this project is to set up your development environment. I work on an M1 Macbook Pro and chose VS Code as my IDE. I also arbitrarily chose OpenGL as my graphics interface. Your mileage my vary with this guide if you are using different tools.
Note: OpenGL is deprecated on MacOS. However, it’s still usable at version 4.1, and it’s unlikely you’ll need the newer features present in versions > 4.1 for this class.
This guide on setting up OpenGL with MacOS/VS Code proved very useful in getting me started, although I did things slightly differently at various steps.
There’s also Learn OpenGL’s “Creating a window” article that was very useful for a second opinion on various setup tasks.
Helpful Libraries
Online tutorials, including the ones linked above, often begin with a recommendation to blindly install GLFW, GLUT, GLEW, GLAD, or others. To understand exactly what each is used for, this is a helpful Reddit post. Here’s a brief summary:
- GLFW/GLUT: Provides the essentials to create a window or handle inputs/events. I chose GLFW.
- GLAD/GLEW: Provides an interface to access OpenGL API functions. Read this paragraph from Learn OpenGL for more details. I chose GLAD.
GLFW and GLAD are the bare minimum necessary to get your first window and first triangle on your screen.
Installing GLFW
The guides linked above will direct you towards the GLFW official website to download the MacOS pre-compiled binaries. I opted instead to install GLFW via Homebrew, after finding this incredibly helpful document on OpenGL Development for OS X.
$ brew install glfw
Installing GLAD
I simply followed the instructions from the first guide linked above. As the author mentions, I placed glad.h under include/glad/ and glad.c under src/.
Setting up a build system
Now comes the task of wrangling these libraries to ensure successful compilation of your C++ code. The guides linked above recommend VS Code Tasks or CMake as build systems. I’m unfamiliar with both, so I opted to keep things simple by using a Makefile. Let’s walk through it here:
- First, define the C and C++ compilers:
C = clang CPP = clang++- Since GLAD is a C-based library, it is necessary to first compile the C into an object file using
clang, then include the object file as a source file forclang++.
- Since GLAD is a C-based library, it is necessary to first compile the C into an object file using
- Next, define their flags:
C_FLAGS = -Wall -Wno-unused-command-line-argument -c CPP_FLAGS = -Wall -std=c++11- The
-cflag forclangwill generate an object file, as desired. - I arbitrarily chose C++11 for this class.
- The
- Define output directories:
APP_NAME = main BUILD_DIR = ./bin./binis arbitrarily the location for any outputs.Executables will be namedmainormain.o(depending on the stage of compilation).
- Define sources for C and C++:
C_SOURCES = ./src/*.c CPP_SOURCES = ./src/*.cpp - Define include file directory (
.hfiles):APP_INCLUDES = -I./include -framework Cocoa -framework OpenGL -framework IOKit- Since we placed the GLAD header under
include/glad/, we must make sureclang++can “see” it. - I’m unsure on the specifics of the framework arguments, but they seem to be necessary given this guide.
- Since we placed the GLAD header under
- Define linked libraries:
APP_LINKERS = -lglfw3- Since we installed GLFW via brew, we don’t need to manually link the
.dylibfile or similar. It is automatically found byclang.
- Since we installed GLFW via brew, we don’t need to manually link the
- Now the actual build task:
build: $(C) $(C_SOURCES) $(C_FLAGS) -o $(BUILD_DIR)/$(APP_NAME).o $(APP_INCLUDES) $(APP_LINKERS) $(CPP) $(BUILD_DIR)/$(APP_NAME).o $(CPP_SOURCES) $(CPP_FLAGS) -o $(BUILD_DIR)/$(APP_NAME) $(APP_INCLUDES) $(APP_LINKERS)- Note the C compilation step will output the object file
bin/main.o - Then,
bin/main.ois included as one of the sources for the C++ compilation step.
- Note the C compilation step will output the object file
- Finally, the run task:
run: build $(BUILD_DIR)/$(APP_NAME)- Note that the run task naturally depends on the build task
Now, make build and make run should correctly compile your C++ code. As I got further with the projects, I found myself needing to add custom classes or new libraries. They fit cleanly into this framework: .h files can be placed under the include/ directory, and their corresponding .cpp files can be placed under the src/ directory.
Actually completing the project
Now that our development environment is set up, it’s time to actually do the project. I won’t go into detail about my implementation, but here are some assorted tips:
- Learn OpenGL will basically guide you through the whole project, all the way up to the Phong lighting model. Use it!
- Take Learn OpenGL’s custom camera class and run with it (modify as desired)
- Same with the Learn OpenGL shader class; it’s very useful to be able to separate your vertex/fragment shaders into another file. Plus, VS Code has extensions for basic syntax highlighting for shader languages.
- Eventually Learn OpenGL will have you install GLM. Include it in the same way that we did for GLAD.
- Make your own .OBJ loader class using this guide that I found from Prof. Yan’s slides. Understand it and edit to your needs.
- Find .OBJ files on the internet and use Meshlab to normalize them to a form that your loader class can handle.
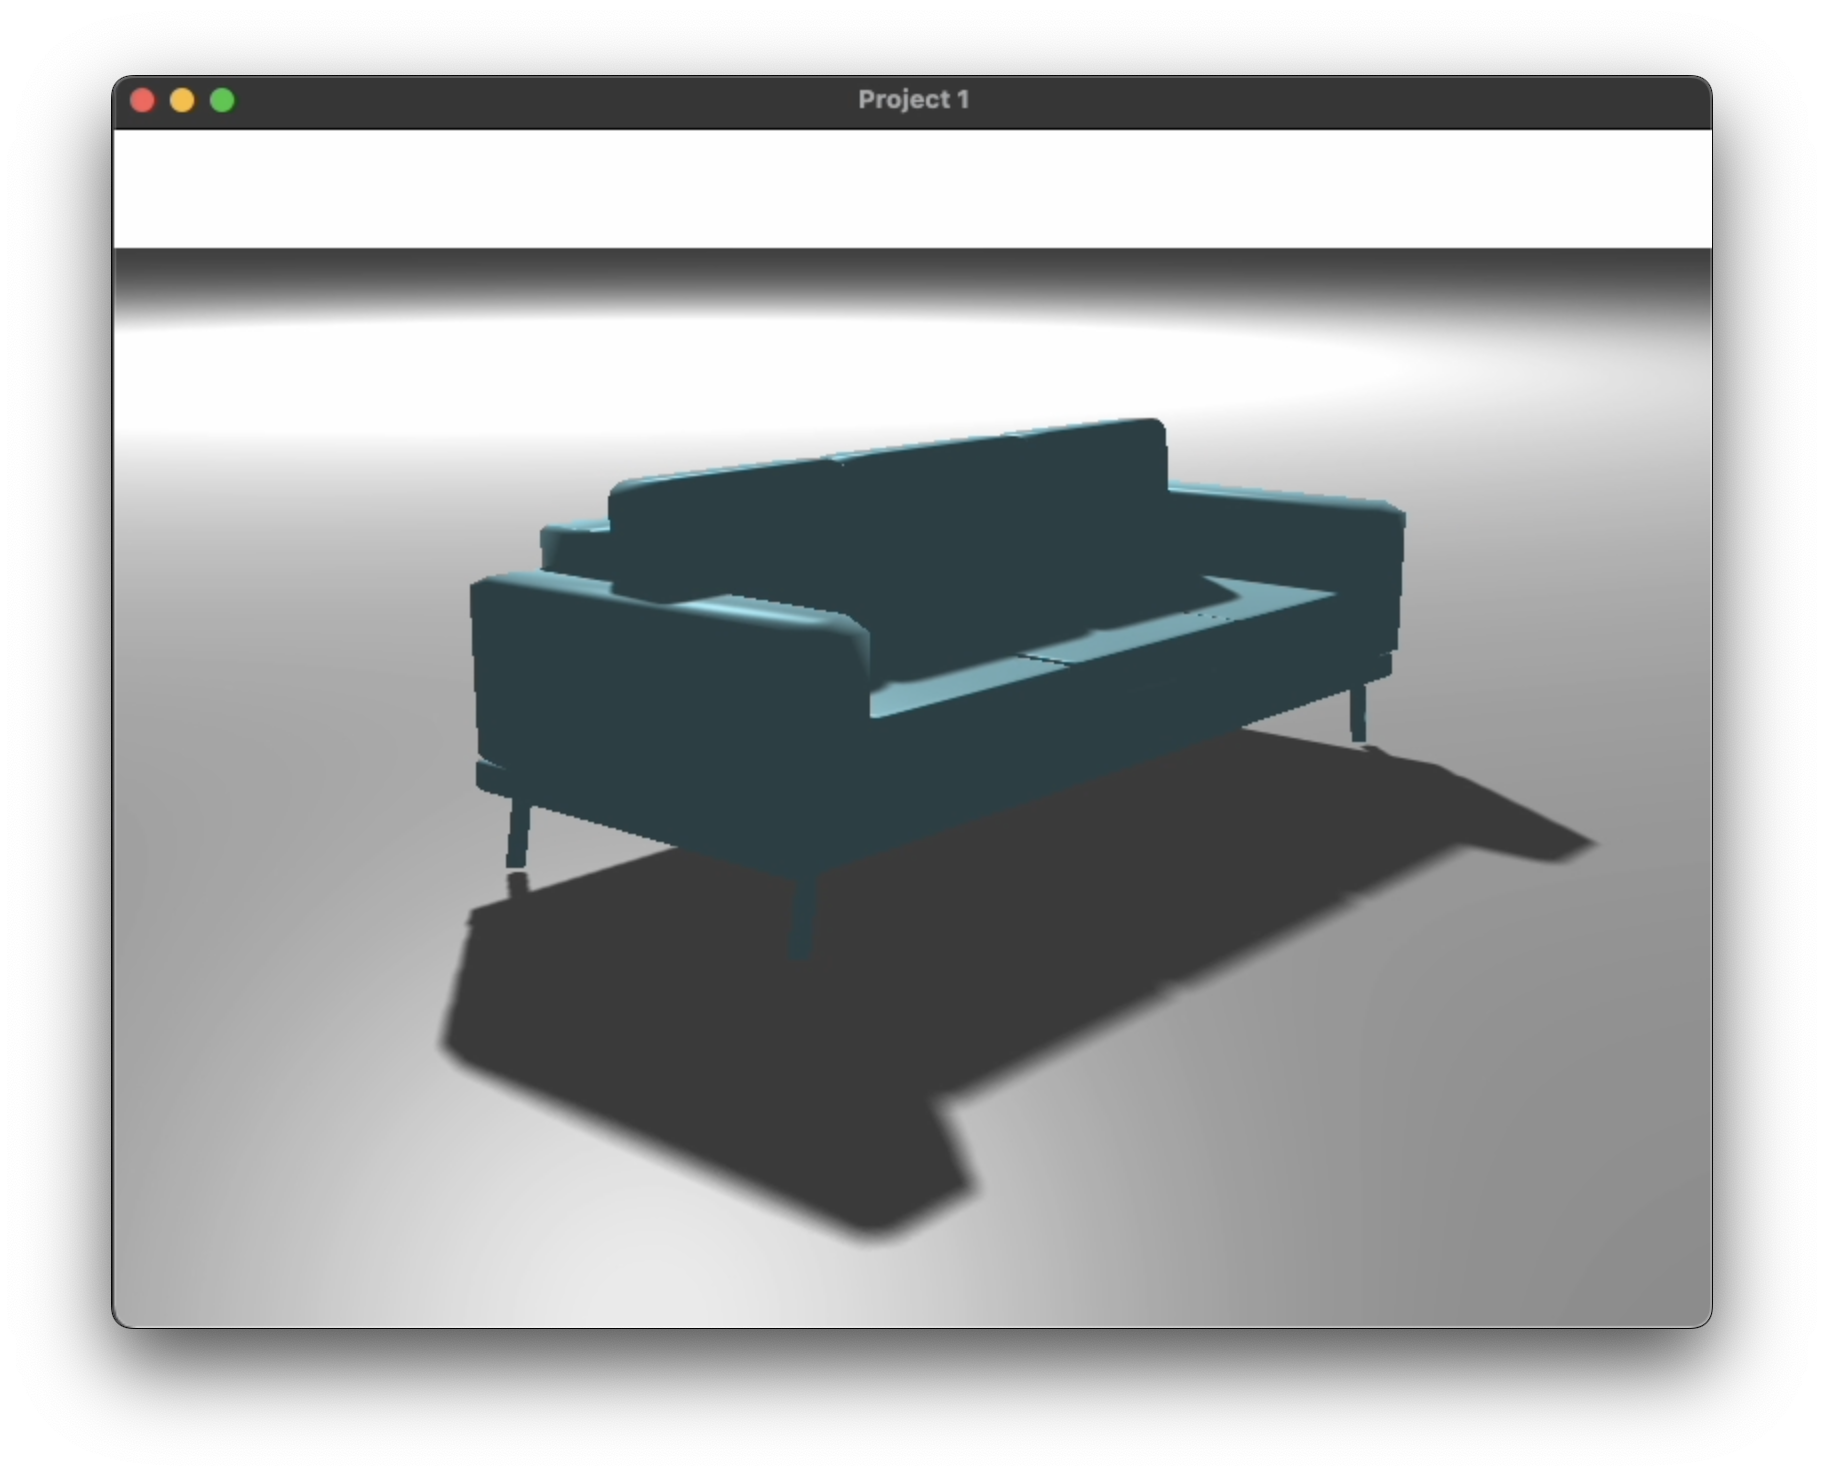
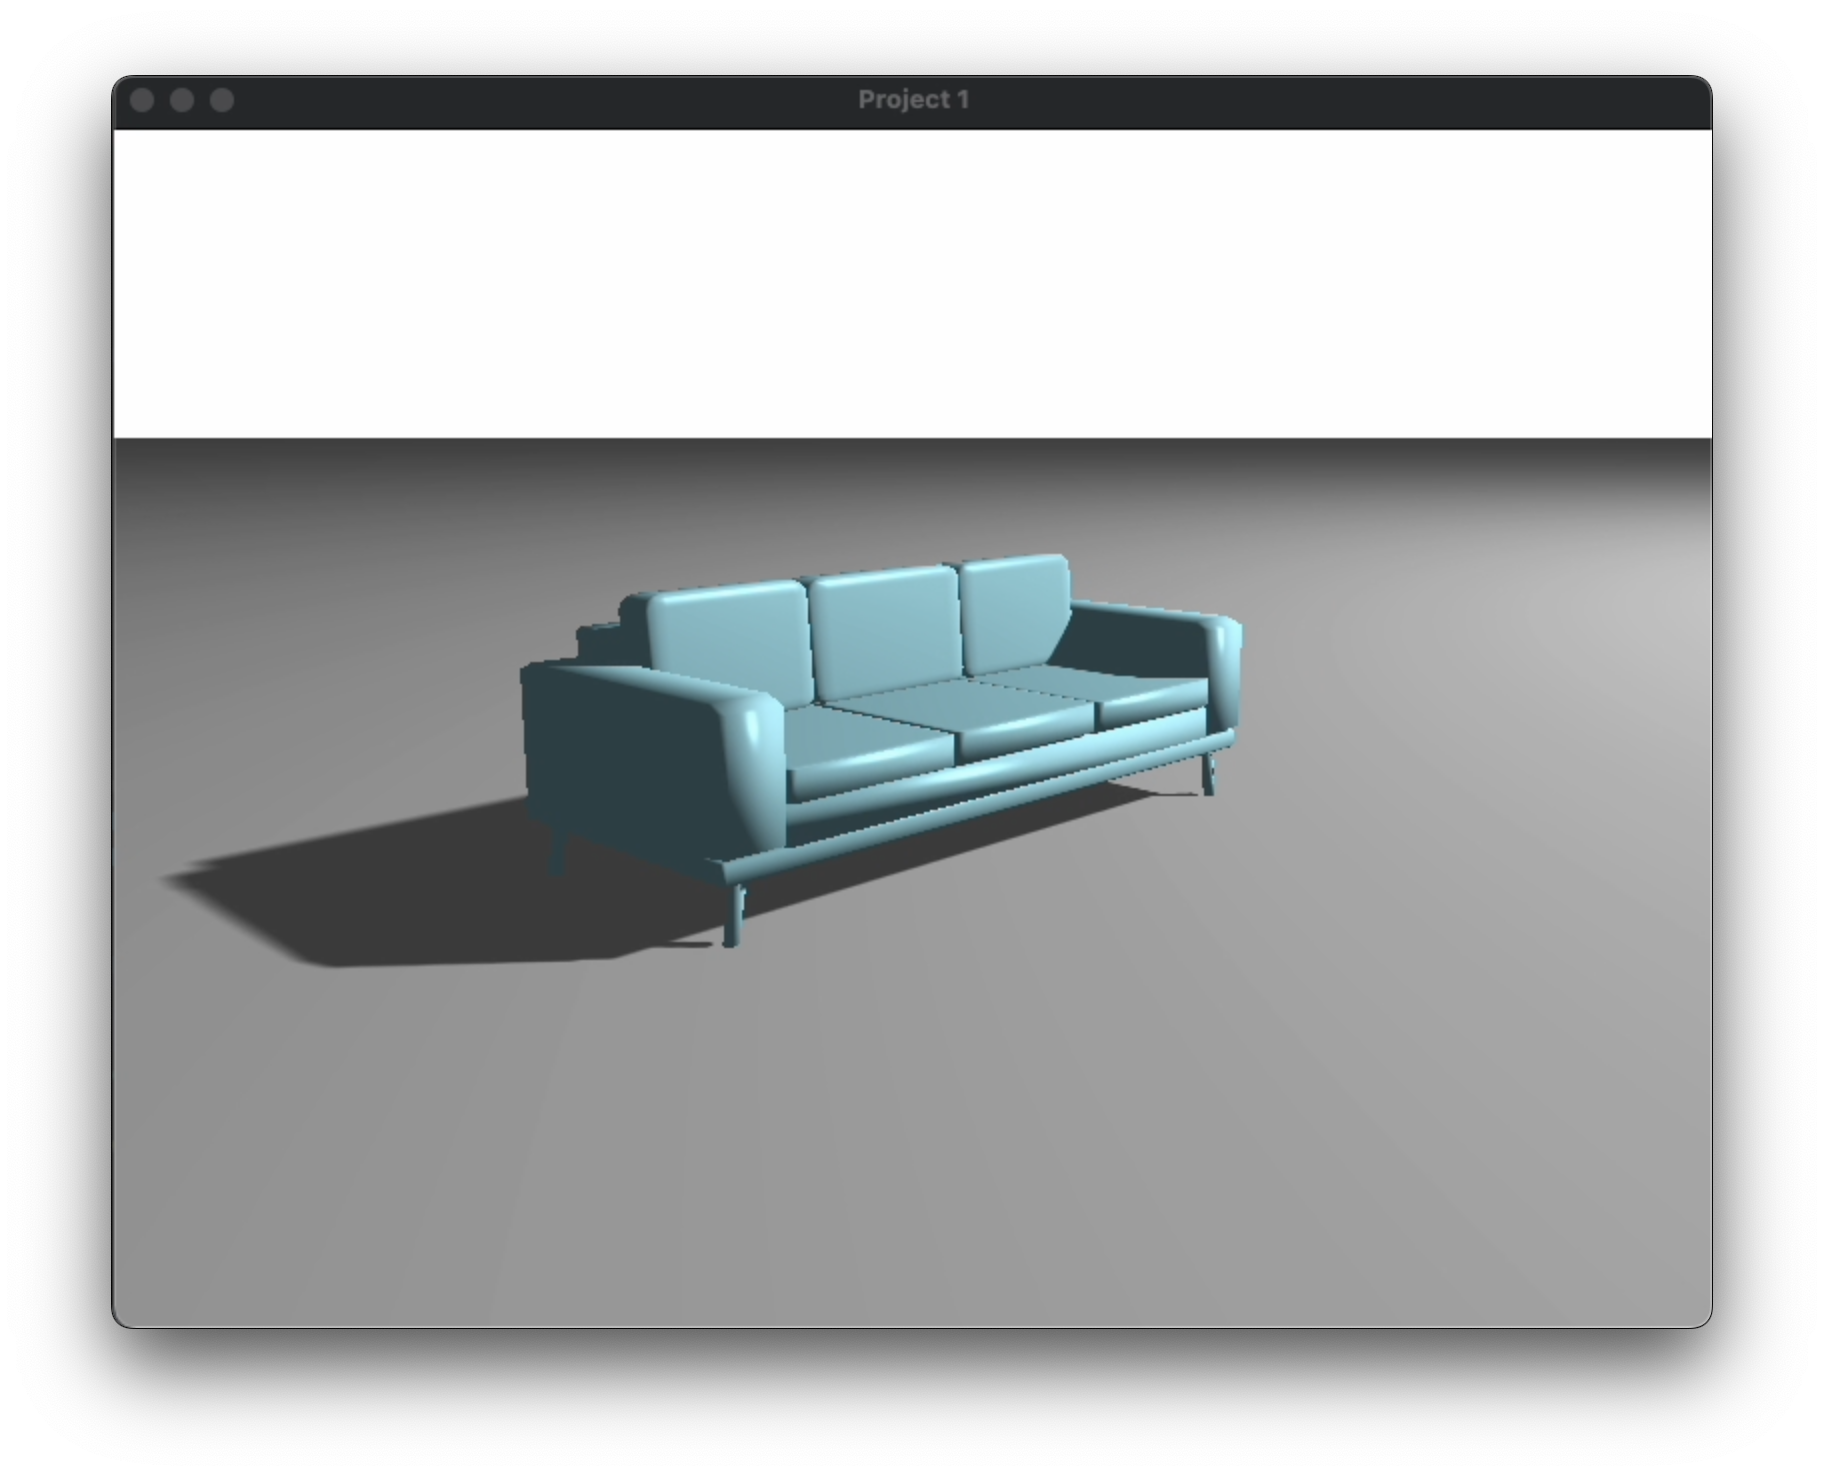
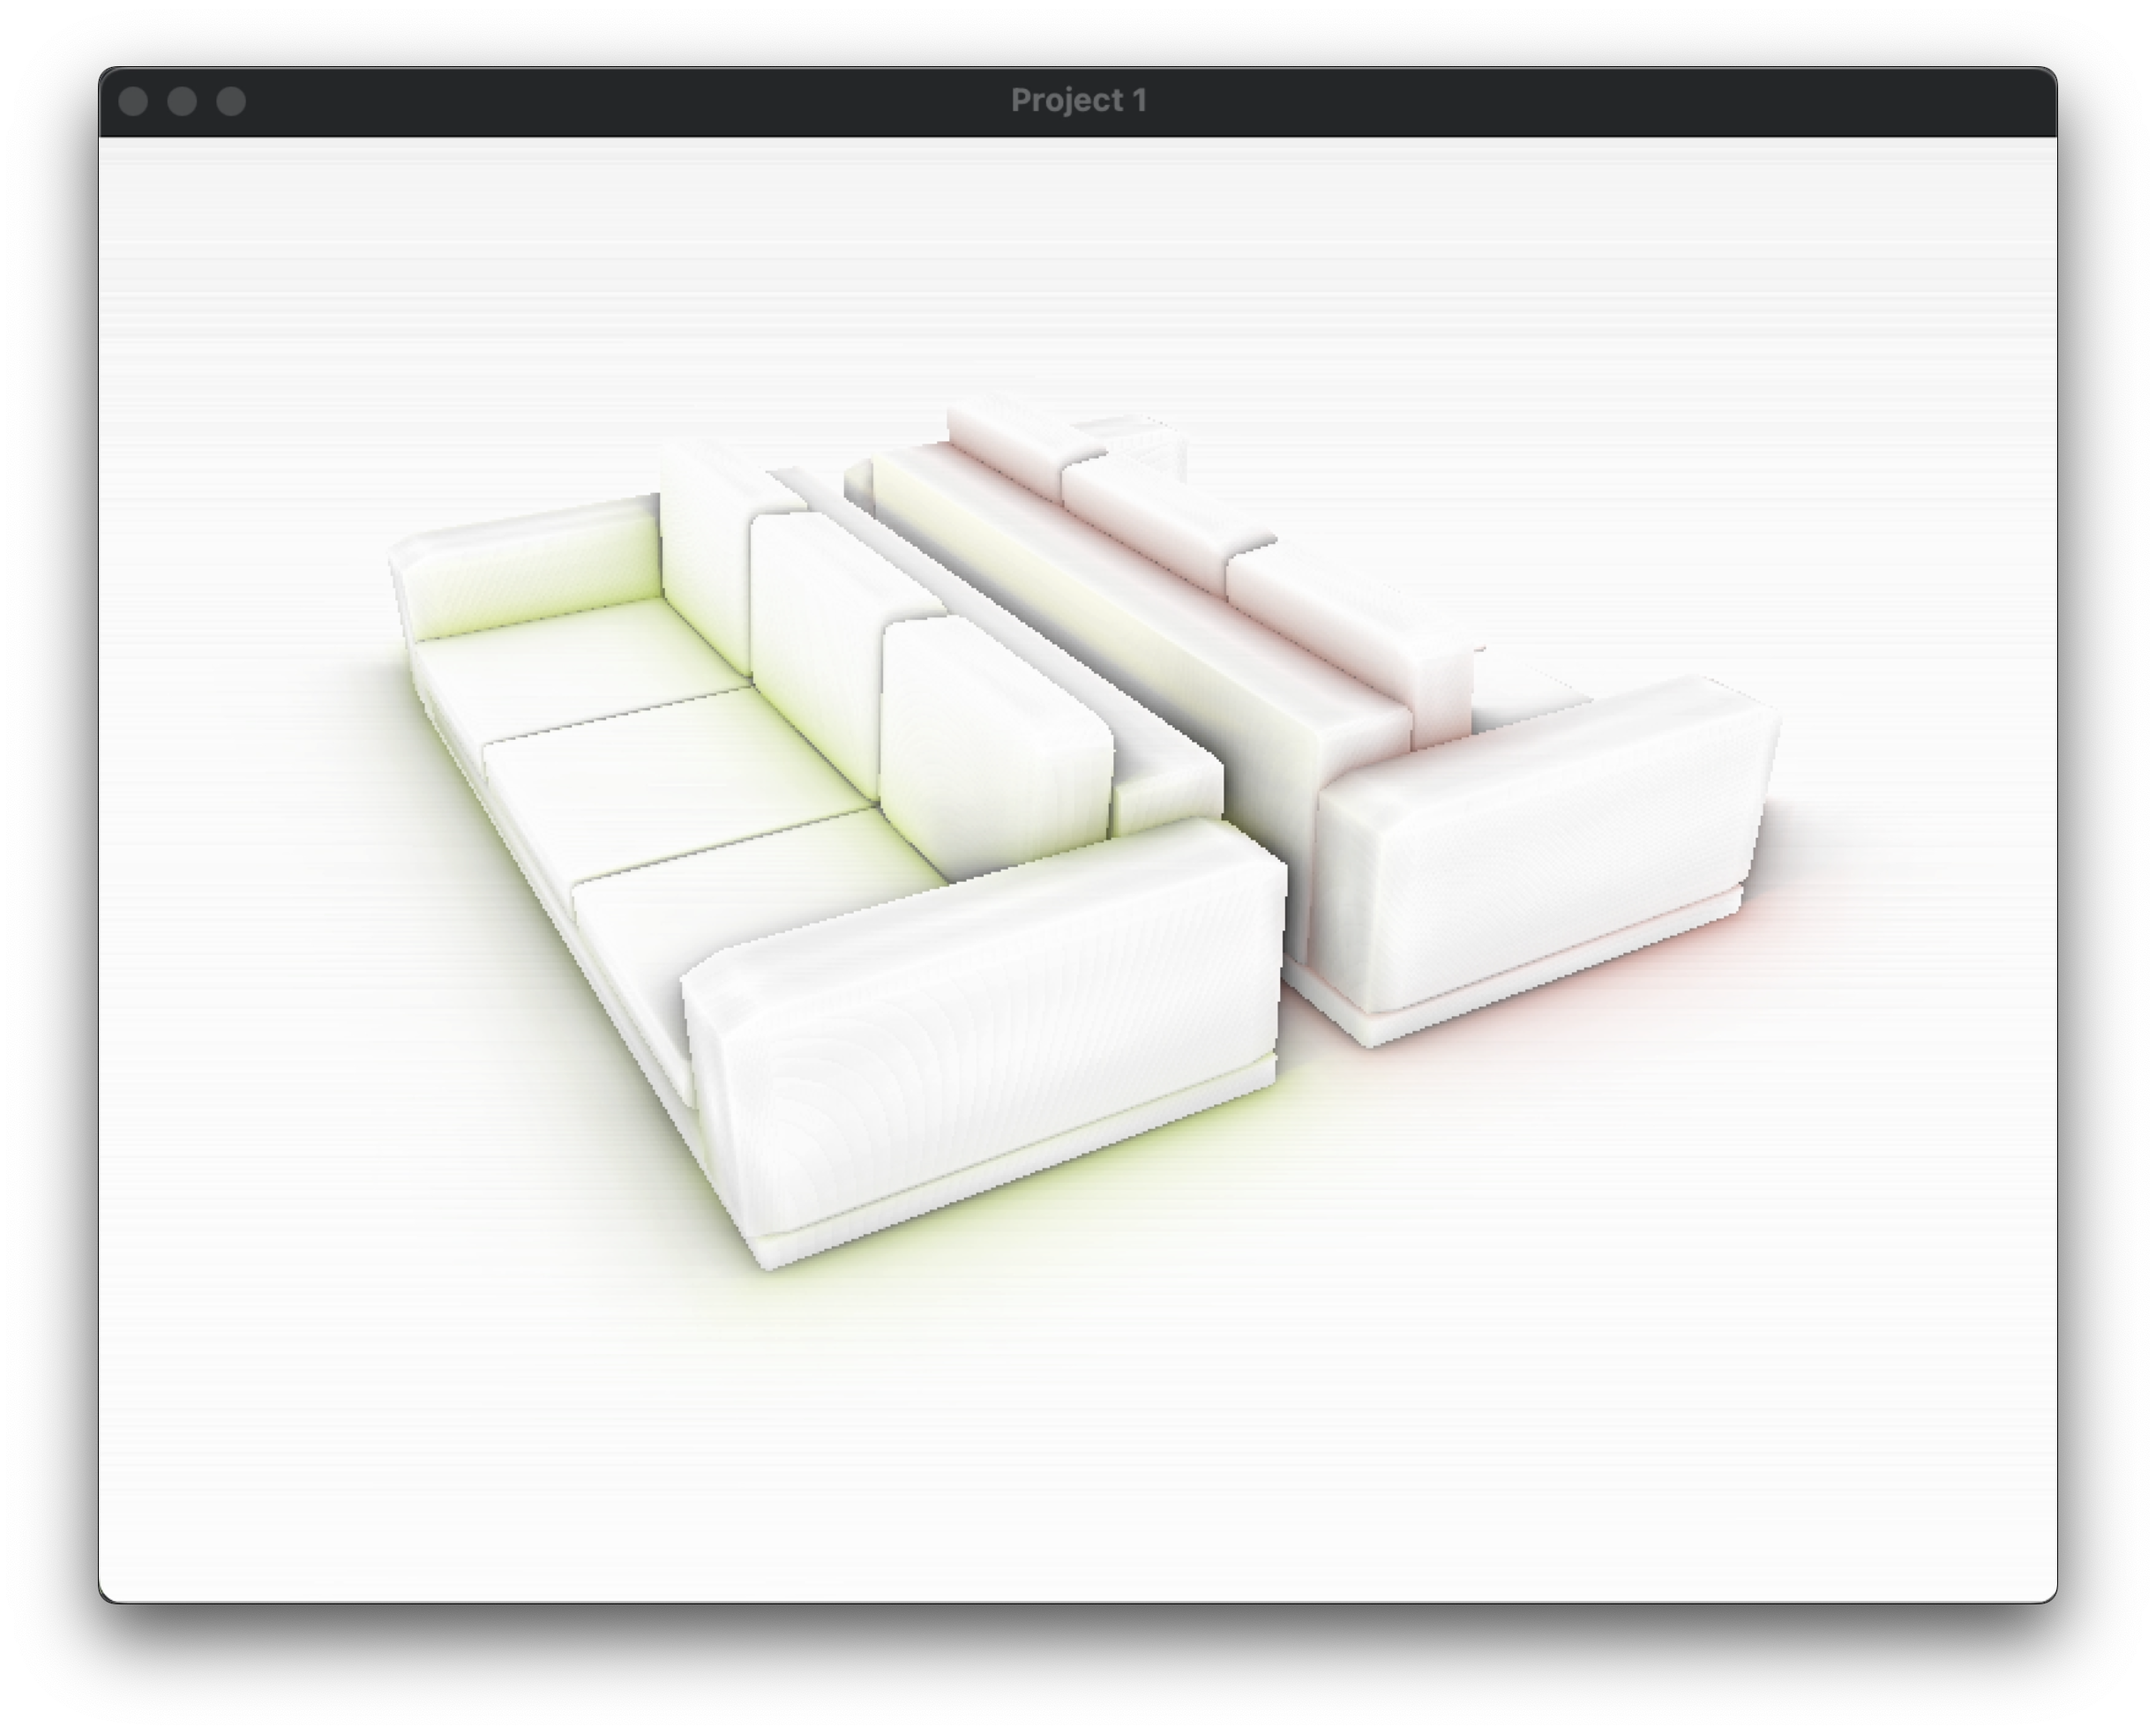
Project 1: Percentage Closer Soft Shadows
After completing Project 0, there is significantly less setup required to implement PCSS. Here are some assorted tips:
- This NVIDIA PCSS Whitepaper can help with ideas.
- This project from diharaw suggests using Poisson-disk sampling.
- I found this PCSS overview from gamedev.net to be informative.
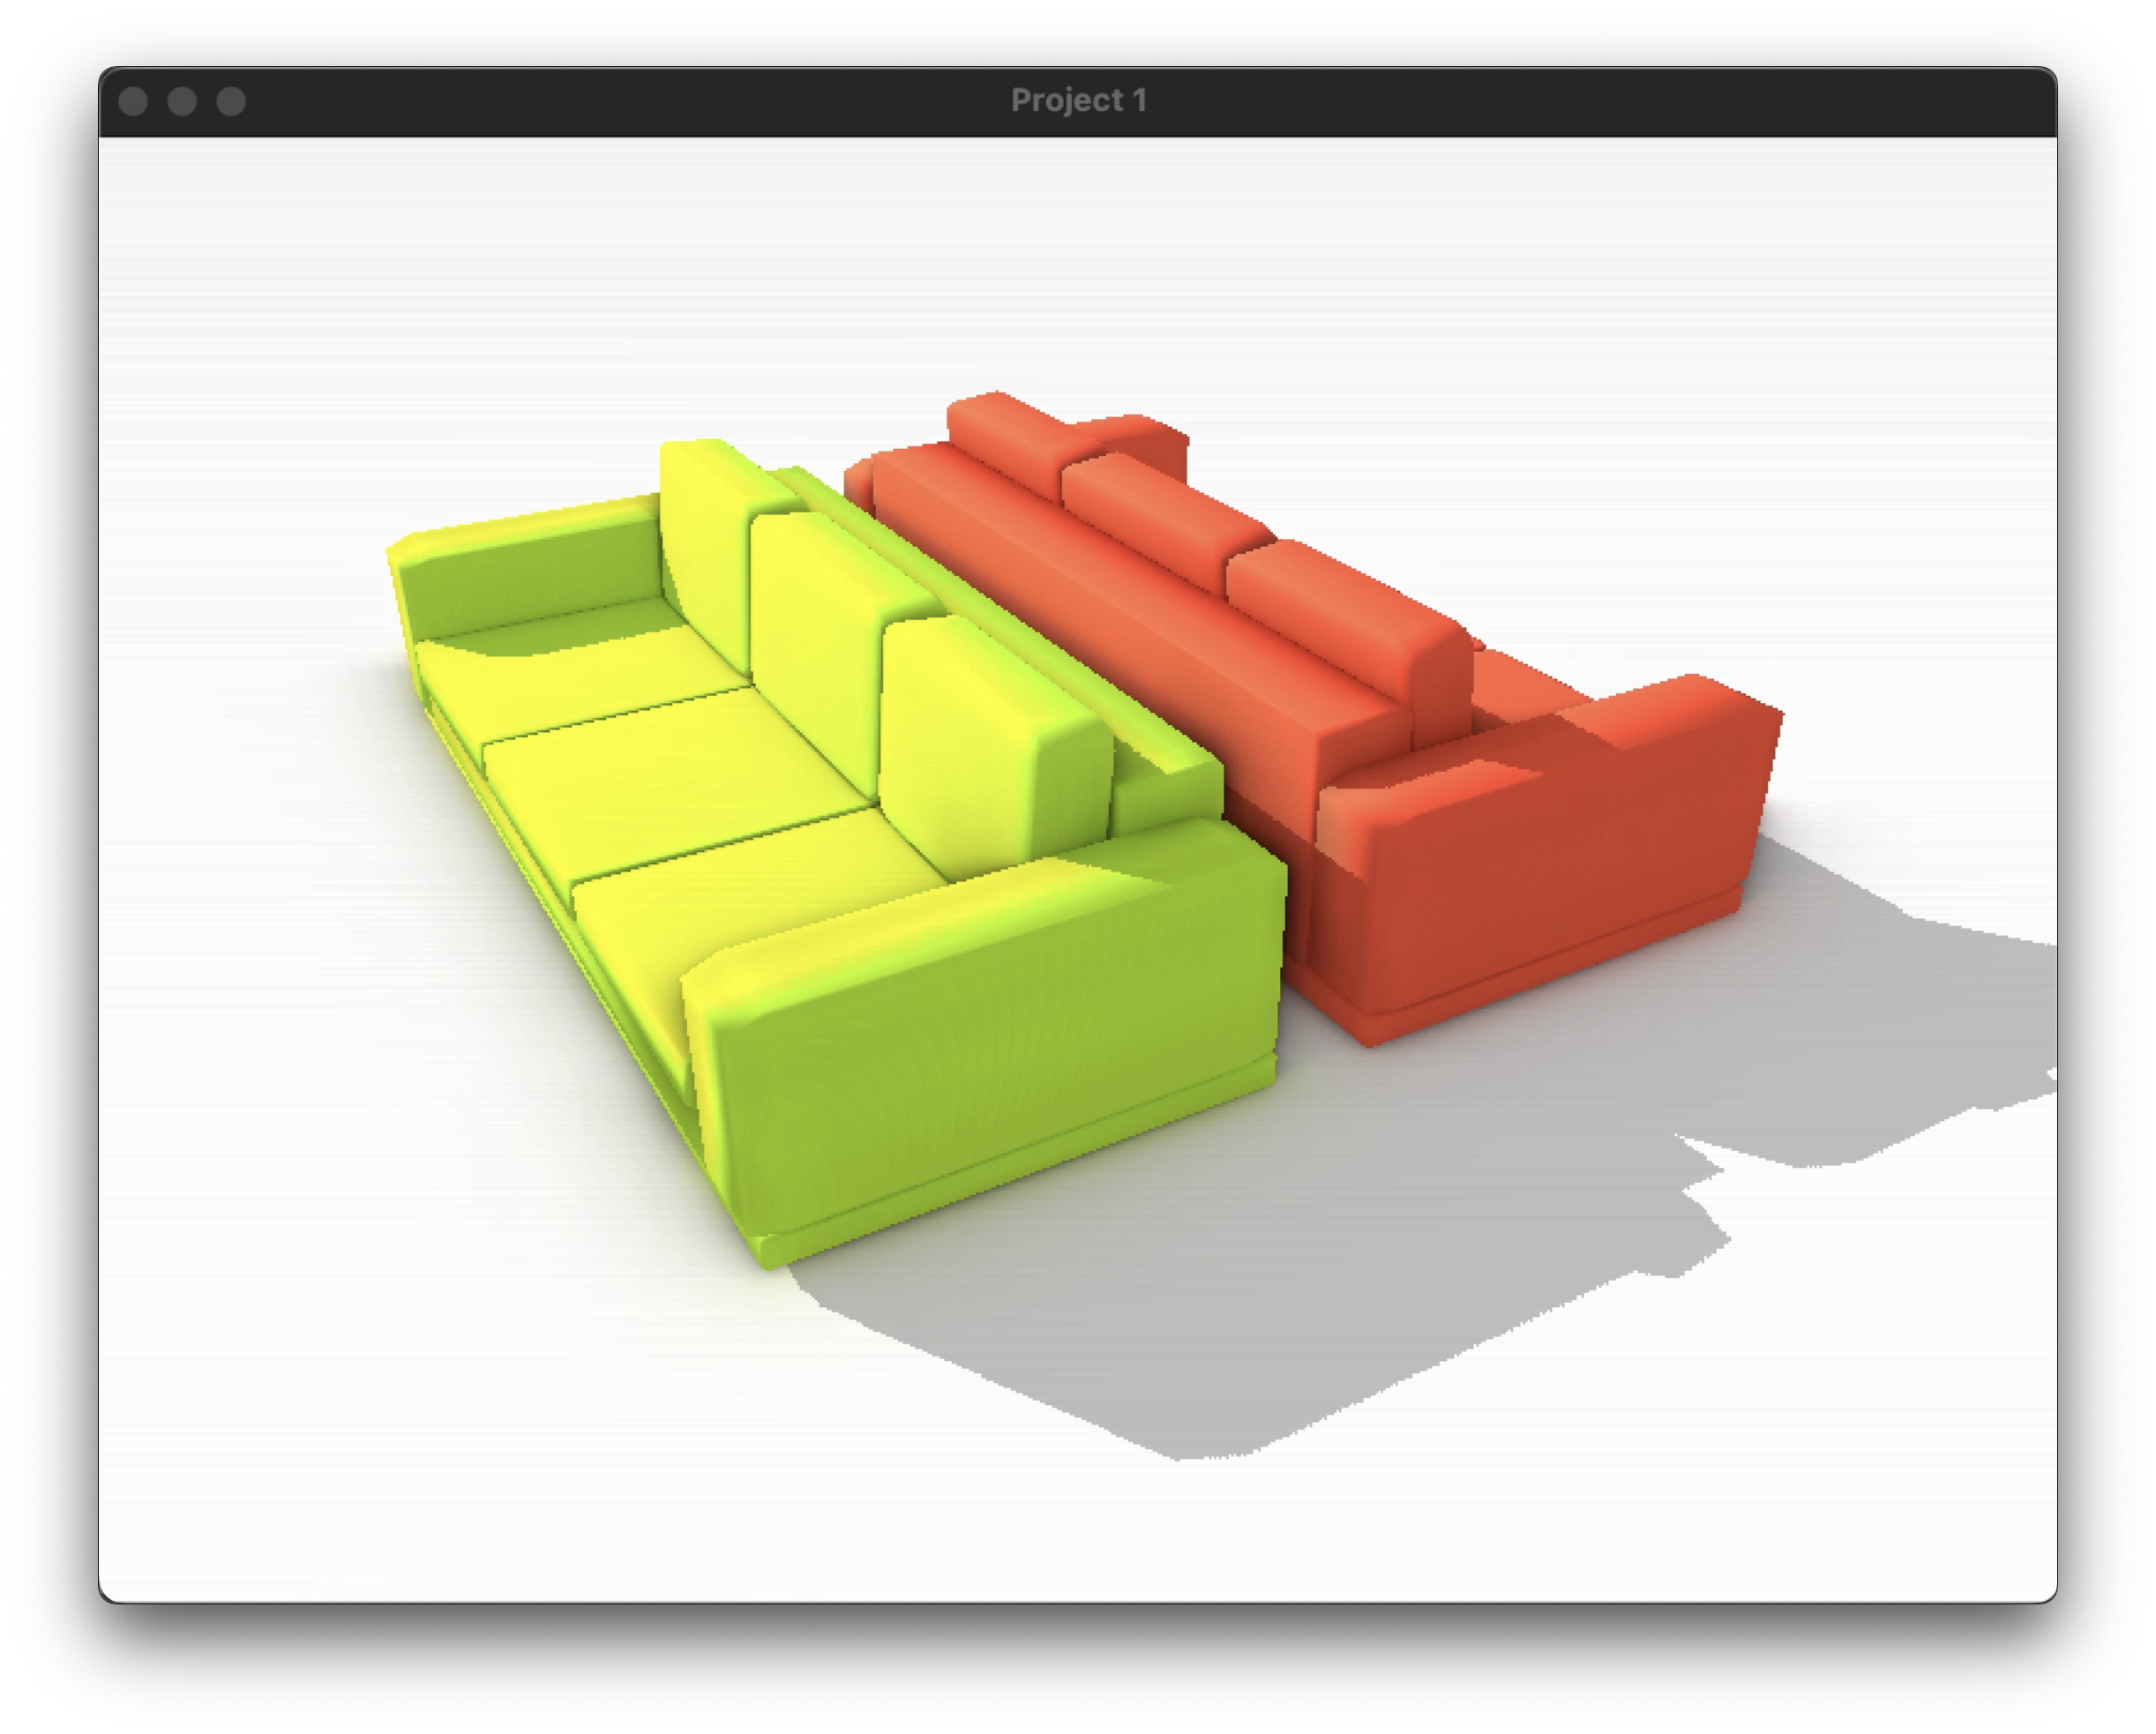
Project 2: Global Illumination Techniques
Out of RSM, VXGI, SSDO, and SSR, I chose to implement SSDO. I also chose to begin by implementing SSAO, then extending it to SSDO. Here are some assorted tips:
- Learn OpenGL has a guide for SSAO.
- You’ll need G-buffers to go from SSAO to SSDO. Here’s the relevant Learn OpenGL article. It covers deferred shading, which is not necessary for this project, but deferred shading uses G-buffers, so pick and choose the parts of the article that are relevant.
- John Chapman’s SSAO tutorial also proved very useful. Again, pick and choose the parts of the tutorial that are relevant. For example, this article gave me the idea to use linear interpolation to bias my samples towards the origin.
- The Gram-Schmidt process is important for normal-orienting your sample hemisphere. Read about it on Wikipedia here.
- Here’s Tobias Ritschel’s original SSDO paper for reference.
- Once I got SSAO working, this SSAO to SSDO report by Chia-Man Hung helped me get my bearings to take on SSDO.
Project 3: Kulla-Conty Multiple-Bounce BRDF
I chose to skip this project! Since I had become comfortable with my development environment, I didn’t feel like leaving it to implement this project on ShaderToy.
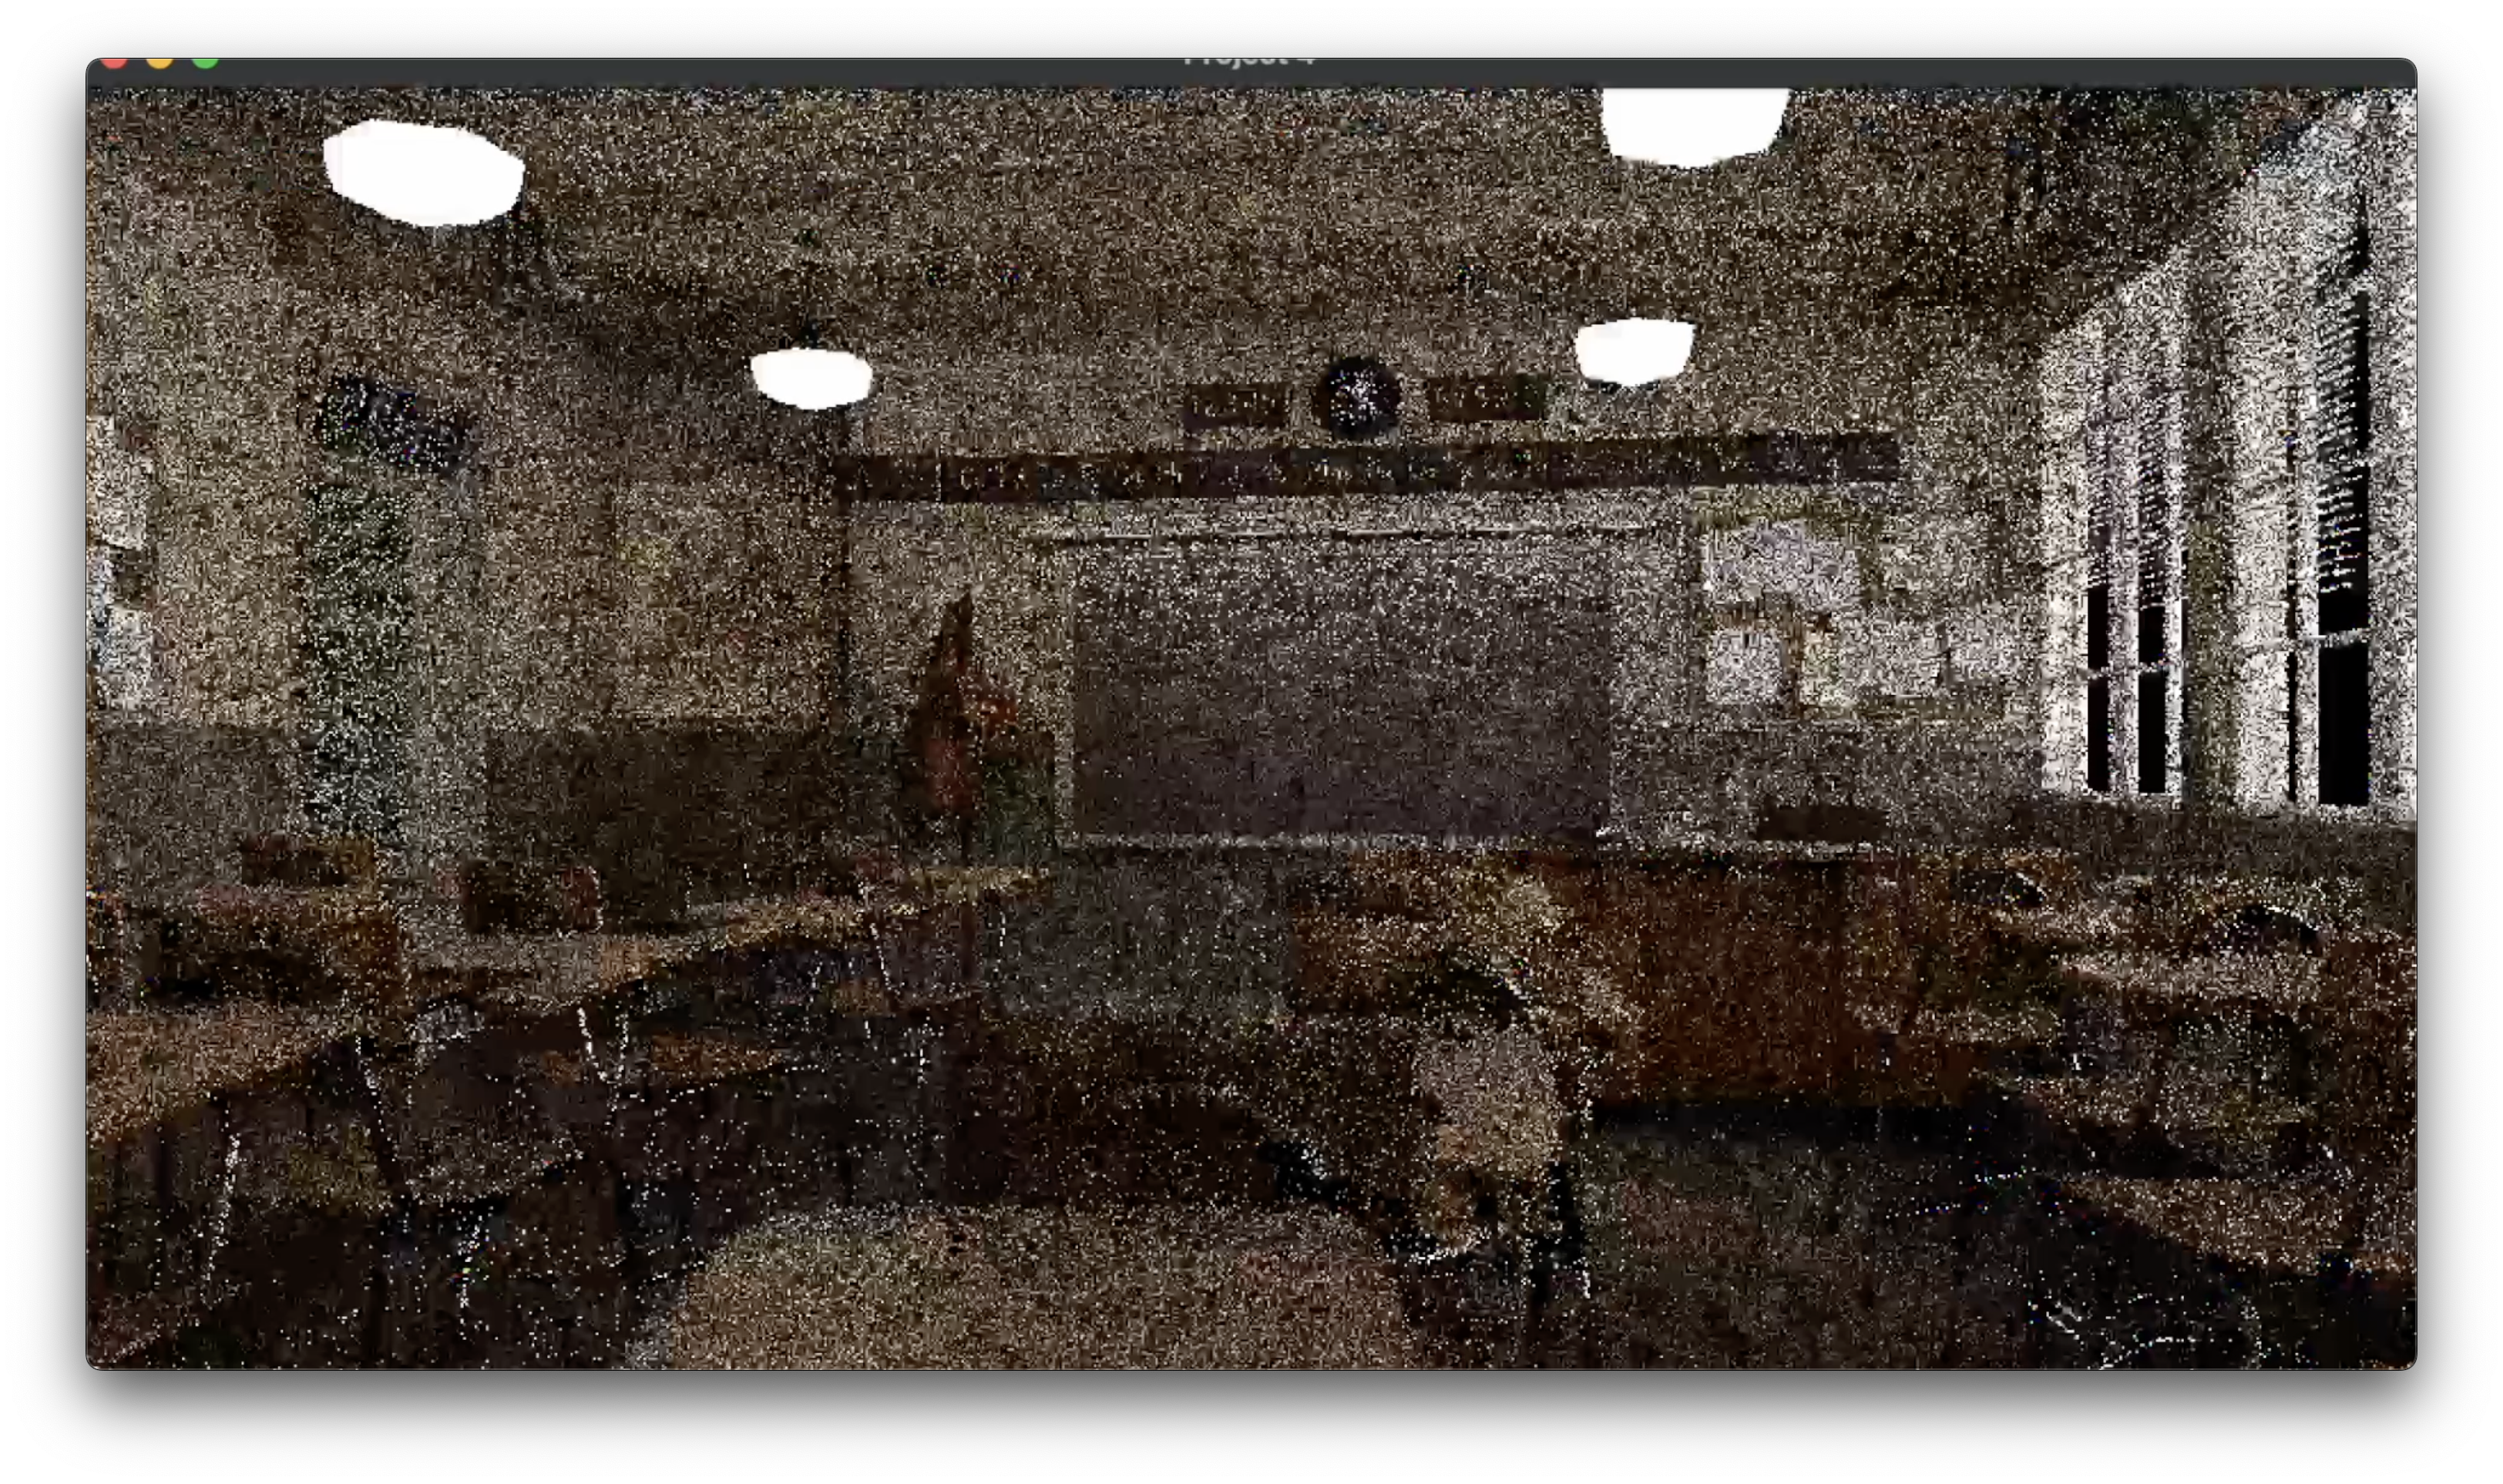
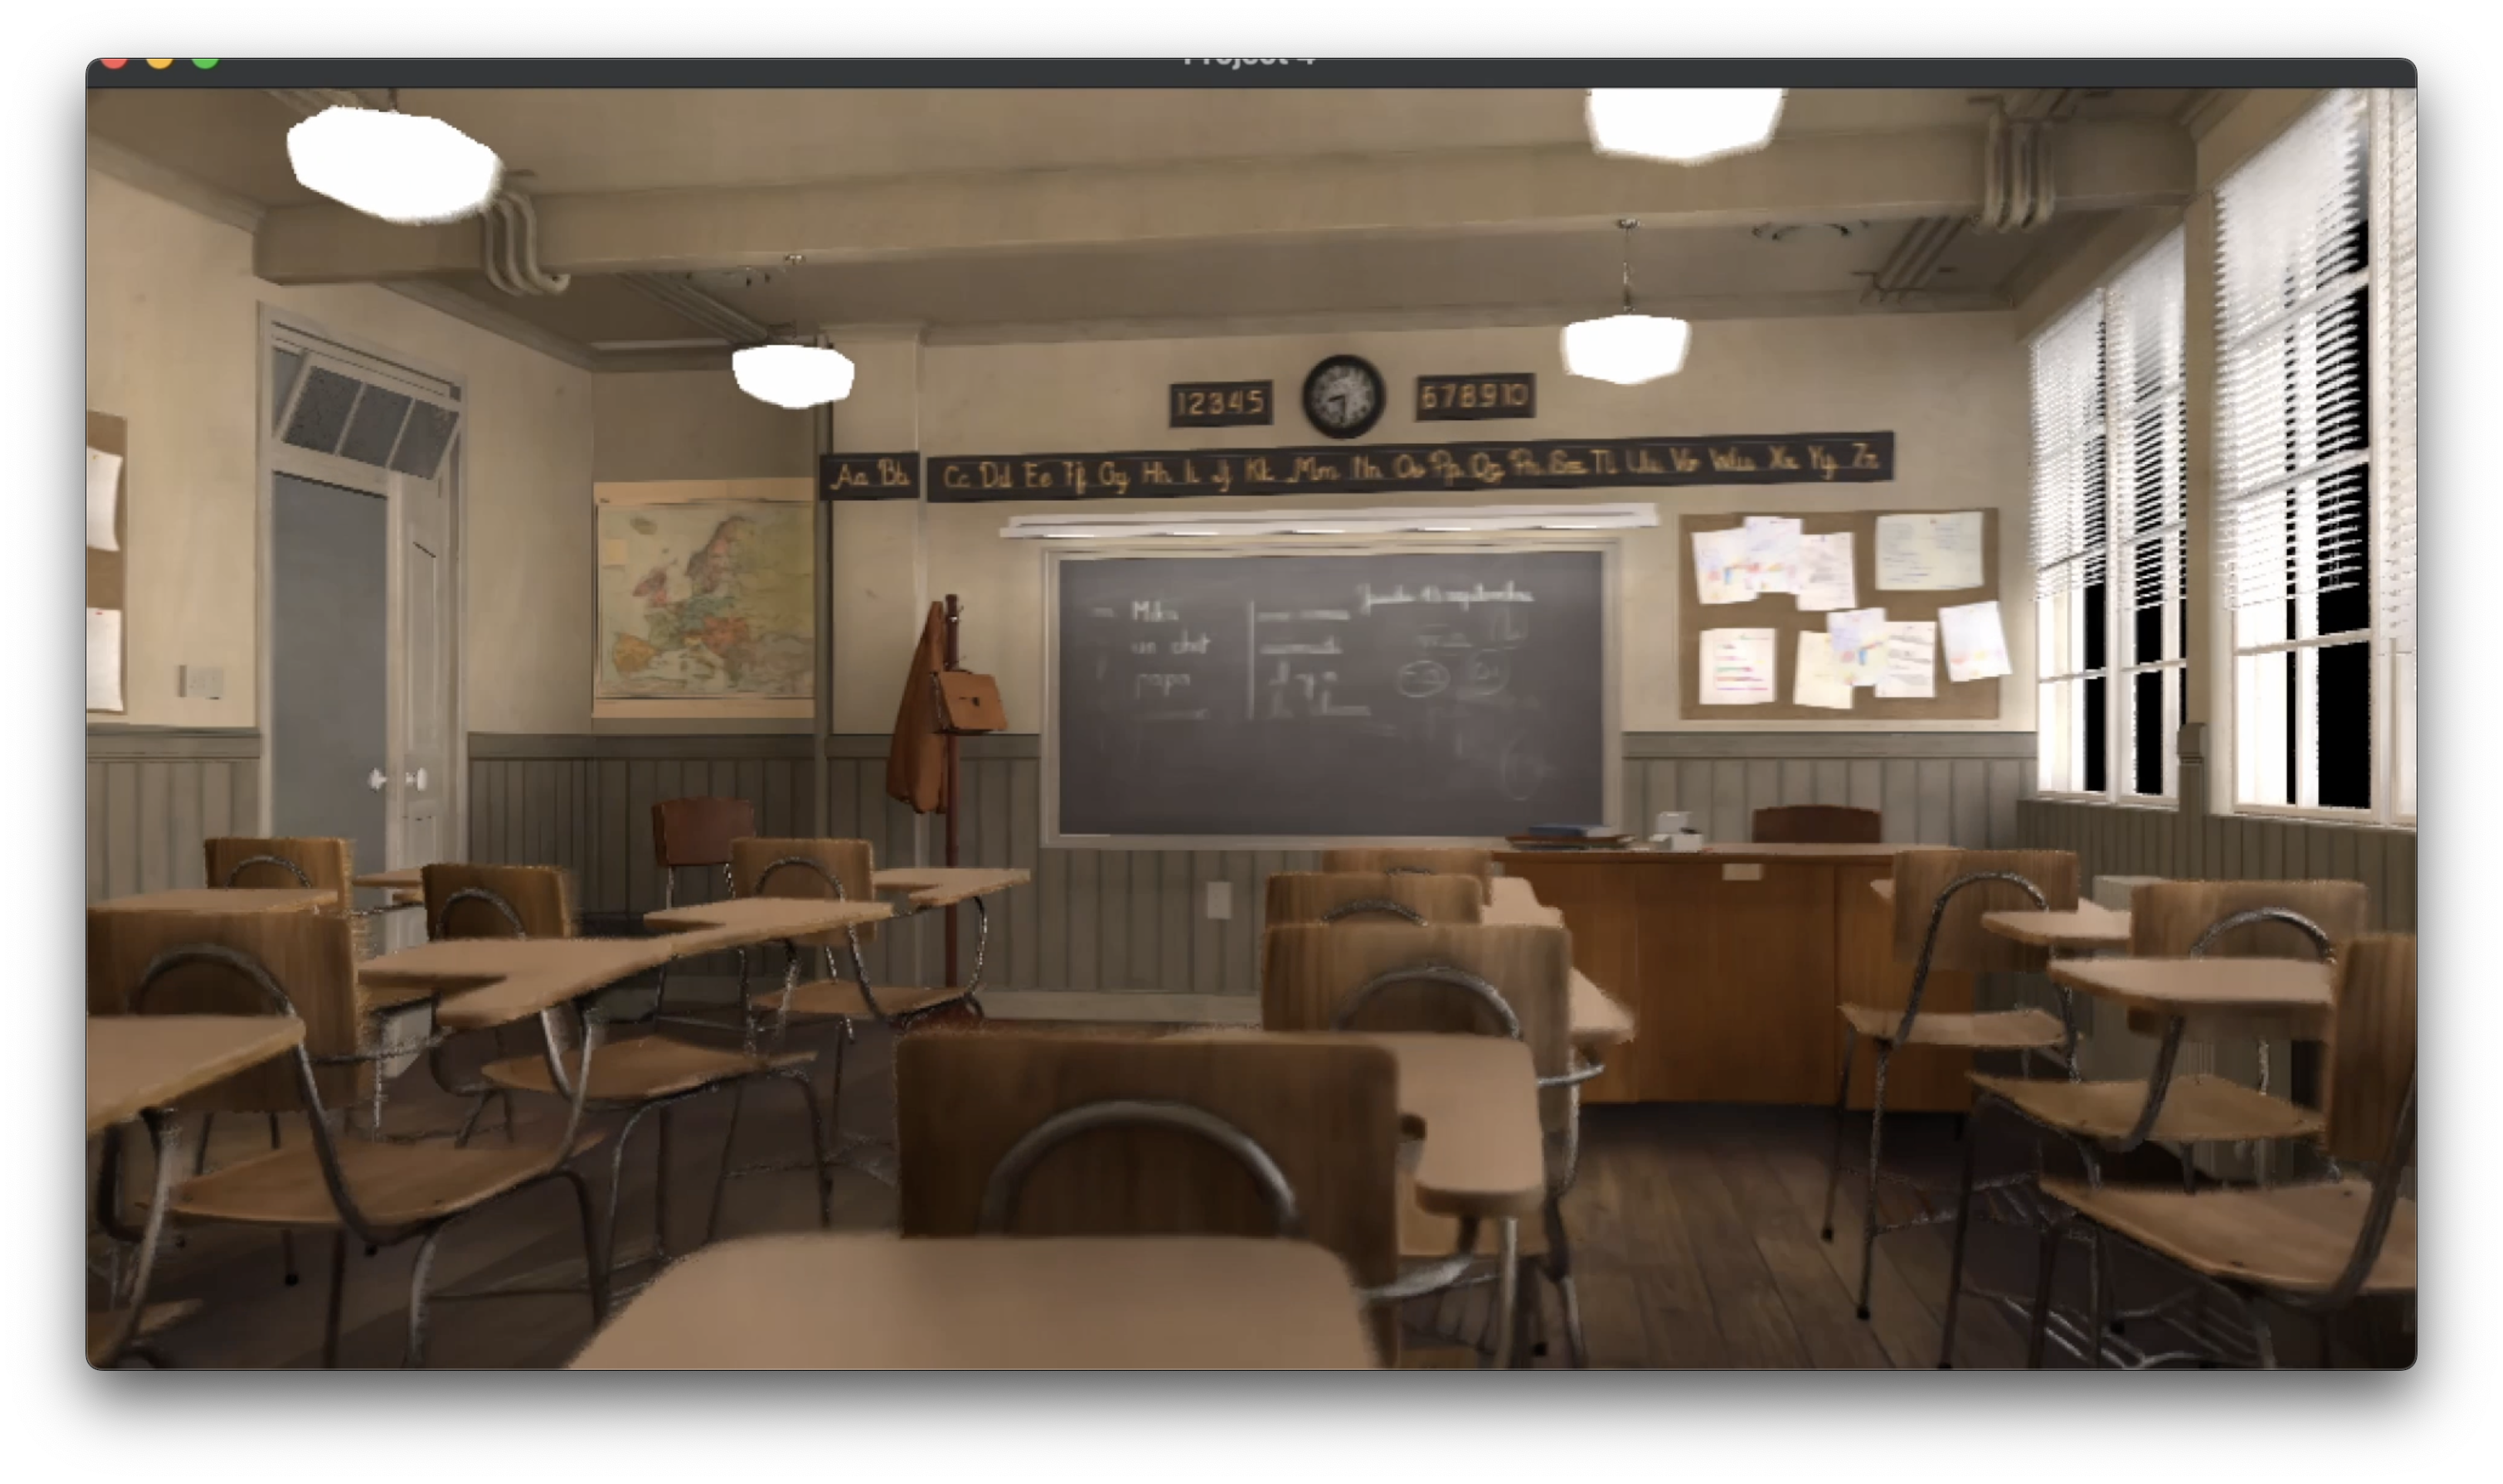
Project 4: Real-Time Ray Tracing
This project proved to be slightly more involved, so I’ll break my tips into sections.
Generating Noisy Images
I arbitrarily chose Blender for this task since I already had it installed. I had no real experience with using Blender, but it was surprisingly easy to get started, so I would recommend it to other beginners. Some assorted tips:
- Find a nice Blender scene with keyframed camera movements already created. This saves you the hassle of learning how to animate camera movement when you’re just getting started. The Blender Demo Files page has a lot of cool scenes to use. I chose the classroom scene, which happened to have camera animation set up.
- You’ll be using Blender Cycles to render the images. Blender Guru has a tutorial on what Cycles is and how to use it.
- In addition to the 1 SPP ray-traced images, you’ll want the G-buffer information via Blender’s Render Data Passes.
- Save all of this data to files using the Blender compositor. Here’s a forum article on doing that.
- I chose to save the data to PNGs, but you can save it to whatever format you like. The next section will explain why PNGs are useful when loading the data to the GPU.
- The compositor is also where you can modify your data to fit the strict RGB [0, 1] requirements of PNGs. For example, world position and motion vectors will have some negative values, which need to be mapped to [0, 1] as you see fit.
Loading the images to the GPU
Once you have the images, you’ll now have to load them as textures to the GPU. Here’s some assorted tips on doing that:
- This Learn OpenGL article on Textures is helpful for figuring out how to load various file formats into an OpenGL texture that can be sent to the GPU.
- The article will recommend using the STB Image Header File, which I will also highly recommend. It supports 8- and 16-bit PNGs, which is exactly the flexibility I needed.
- Load all the data before your main render loop, rather than within the loop itself. I made this mistake and it tanked my FPS since you would have to fetch a couple megabytes from disk every single frame.
Denoising Techniques
My final implementation included a joint bilateral filter, temporal accumulation, and temporal clamping to reduce disocclusion. I found it unnecessary to do outlier clamping for fireflies and to implement optimizations like horizontal/vertical blur pass or a-trous wavelet sampling since I got >30 FPS even for a large 33x33 kernel. Here are some more tips:
- To implement temporal accumulation, simply write the default framebuffer’s default color attachment (output texture) to another texture within the main loop using
glCopyTexSubImage2D. This gave me a headache for a while before I realized you don’t need any other framebuffers other than the default one, along with some free-floating textures. - Get out a pencil and paper to work out the correct conversions for the motion vectors and world position so that you don’t dig yourself into a hole with silly mistakes and spend hours digging yourself out (like I did).
- When accumulating the weighted color from every sample around a pixel, divide out the albedo of sample. Then, multiply the pixel’s albedo to the result of the weighted average to compensate for the loss. This stops the albedo component from being blurred and will lead to much cleaner results.
Final thoughts
Regardless of your level of experience with computer graphics, you can succeed in this class! It’ll take some time and self-teaching, but as long as you don’t lose interest, you’ll do well. Remember to have fun and mess around with your code while working on the projects; it’s the best way to learn. I could fill a library with the wacky visual effects I’ve made by messing up my implementations.